Create a bouquet of fabric flowers that you don't even need to sew. Follow this tutorial from
Dana Willard to create the fabric flowers with a glue gun and wooden dowels. Spray paint is optional!

 Materials:
- fabric scraps
- wooden dowels
- hot glue gun
- coordinating felt
- (optional) spray paint
- (optional) kitchen sponge
 Ingredients:
Pick out the fabric color scheme you want. This project is perfect
for all those fabric scraps you've been stashing away, like a pack rat
(see you really do need them.)

Purchase round wooden dowels at your local craft store. You can do
any size you want but mine were 3/16 in by 12 inches long. They're
inexpensive. About $2 for a bag of 16.

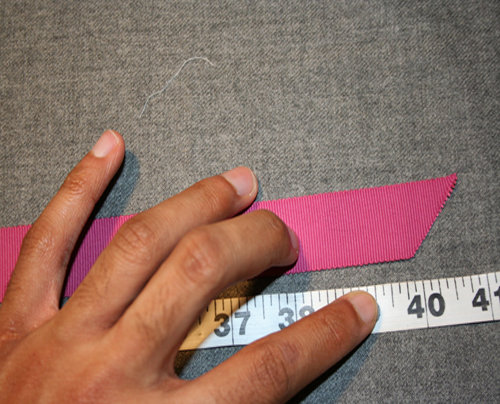
Cut strips of fabric approximately 2x16 inches (no rules here, do whatever size you'd like. This is the size I used)

Then, with your fabric strip, wooden dowel, and glue gun....we'll make a flower.

Bunch up the beginning of the flower a bit (this will be the center
of the flower). Btw, I'm right-handed and found that it's easiest to
hold the flower in my left hand and work the fabric around with my
right. If you're a Leftie, do the opposite.

Stick a dab of hot glue right in the center there and glue the end of the dowel to the center of the flower.

Don't worry, the tip of the dowel won't show when you're done (unless
you want it to! You can push it out more and add something to the top
of it for a cool center. I just kept mine simple).

Then, run a few inches of glue along the next section of the fabric,

Like this:

And carefully, oh so carefully (so that you don't burn your
hands...which I did....a few times), scrunch bits of the fabric up and
press it together at the bottom of the flower. It's like you're
"ruffling" the fabric. Just keep doing this, bit by bit. Glue, gather,
stick, etc. Until you've gone all the way around. You may try using the
back of a pen to help press the glued fabric down to keep from burning
your finger.

And there you go! You should have a pretty blossom like this:

But let's finish off that base....

Cut a small FELT circle (any color you'd like). Doesn't need to be a
perfect circle, just eyeball it. Cut a slit in the middle, a la Mrs.
Pacman, like this:

Then, glue and wrap the little felt circle around the base of the flower to disguise the messy glue and fabric:

And you're done!

Wasn't that E-A-S-Y? And really, pretty cute.

Okay, let's try variations...Want to color your stems? Easy again!
Grab your favorite spray paint color. Who said stems had to be green? P-sha.

You need to find something to make the dowels stand up while you
spray them. Use whatever you have in the house. Nothing fancy. I grabbed
a sponge from under the kitchen sink, poked tiny holes in it, and stuck
the dowels down in each hole....


Ta-Da!

Okay, take your dowels to a good/ventilated "painting spot".
To contain the paint even more, spray them inside of a box. These
bankers boxes have come in more handy for craft projects than for
moving.

And start spraying away. Make sure everything gets and even coat. Let them dry.

The tips of the painted dowels will be left unpainted, so use that
part of the dowel when you glue it to the center of the flower, so it's
hidden:

The orange really adds a splash of color:

To create the "scalloped" look of the two flowers above, fold your fabric strip in half a couple times:

Then cut a wavy pattern or scallops out of the one side:

And glue it around the dowel. You can also trim the edges a bit when you're done to sculpt the flower even more.

More ideas....
Add a center to your flower by bunching up a small scrap of fabric and glueing it right into the center:

Try a bright color at the base of your flower: